Before the invention of the refrigerator, cooked meats and fish were packed into pots and sealed under a layer of melted clarified butter, lard, duck or goose fat, or encased in a pastry crust to prolong their shelf life. It is interesting that many recipes in the 17th and 18th centuries give the choice of using either a pie crust or a pot for this purpose. The pastry crust was invented during the Middle Ages in England not to be eaten but only as a protective airtight casing for food.
The term en croûte refers to an ingredient encased “in a crust”. This is the most difficult and most luxurious way to use forcemeat. The trick is to brown the dough and cooking it all the way through without over or under cooking the forcemeat inside. They say when you succeed, it’s a true victory. And, as involved as it is, none of the steps are difficult, you are essentially baking a meatloaf in a pie crust.
This was my attempt at a Pâté en Croûte. The forcemeat was veal(beef).

 An aspic is made from clarifying a stock until it is nice and opaque and then adding gelatin to give it a jelly consistency when it cools.
As you can tell from the picture above the aspic did not reach the top of the pastry mold, or down to the bottom either. More than likely a blockage keeping it from enveloping the entire loaf. When a terrine is cooked the meat shrinks, and in the case of an en croûte the pastry expands, so there will be a gap between the meat and the pastry. A pâté en croûte has two little “chimneys” on either end where, once it is cooked you pour in the hot aspic. The aspic then fills up the empty spaces inside of the pastry mold and caps off at the top of the two chimneys. Once cooled the aspic will solidify (into a very savory and delicious jelly) keeping out any oxygen from getting to the meat. And what does oxygen bring? you guessed it, bacteria.
So anyway, here is my three day journey into the making of my Veal Pâté en Croûte.
DAY 1:
This is the day that you want to make your dough. The reason you make it a day ahead is because you want to give it at least 24 hours to let it rest.
For pastry dough:
- 8 1/2 oz Bread Flour
- 1 1/2 tsp Kosher Salt
- 3 oz Unsalted, Softened Cubed Butter (not Betty Crocker, real butter)
- 2 large eggs
- 5 TBL Whole Milk
Put your flour, salt, and butter into a mixer and on a low setting with a paddle attachment mix until the butter has incorporated itself into the flour enough to where there are just tiny little balls beaded up in the flour, probably about 3 minutes or so. Once that has occurred add your milk and eggs and mix until a stiff dough forms. Shape into a disk and wrap in plastic and store in the refrigerator for no longer than a day before using. Funny isn’t it? the whole point of making this dough is so we do not have to use a refrigerator.

Now we need to make the aspic. Aspic is nothing more than flavorful stock that has been clarified and then set with gelatin. For rustic preparations you don’t even really need to clarify it, but it makes a visual impression worthy of the effort. Clarifying stock is easy and satisfying.
For Aspic:
- 4 oz Finely Minced Chicken (ALL fat removed)
- 1/2 cup Finely Chopped Onion
- 1/4 cup Finely Chopped Carrot
- 1 Roma Tomato Chopped
- 2 large Egg Whites (ZERO yolk)
- 1 quart Chicken Stock (click HERE for recipe)
- 4 sheets of gelatin for every 2 cups of liquid
In a large sauce pot combine chicken, onion, carrot, tomato, egg whites and whisk to mix well. Add the stock and slowly bring to a simmer, stirring continuously so the egg white doesn’t stick to the bottom and burn, until a raft is formed.

The raft will be stiff and float to the top. You will want to poke a small hole about the size of which a golf ball could fit through, but please do not put a golf ball in your clarifying stock. The raft will catch all the impurities, fat and other scum that is causing the stock to be cloudy. Once your raft has formed stop stirring and very gently simmer for 1 hour, there should be continuous bubbling but DO NOT allow to come to a boil. After an hour carefully strain through a coffee filter. You should be able to see all the way to the bottom like water, except it won’t be clear, it will have a color. You have now made a Consommé.

Allow your gelatin sheets to “bloom” in cold water. They should be soft, but do not leave them in the water too long or it is possible they will dissolve, maybe 2 minutes or so. Squeeze out all the water from the gelatin and dissolve in your heated consommé then place in the fridge.
DAY 2:
My first step in making my forcemeat was to get my mise en place. (meez ahn plahs, a French term referring to having all the ingredients necessary for a dish prepared and ready to combine up to the point of cooking, meez for short)

For the Pâté:
- 4 lbs Veal 70/30 (meat/fat) If you do not have access to a meat grinder then you should purchase ground meat with a 70/30 ratio
- 1 lb Chicken or Duck Liver
- 1 1/2 cups Cubed Slab Bacon (medium diced)
- 4 Cloves of Garlic (minced and sweated)
- 8 oz Onions (small diced and carmelized)
- 10 Sprigs of Parsley (leaves picked and chopped)
- 1 tsp Pâté Spice (click HERE for recipe)
- 1/2 tsp Black Pepper (coarse ground)
For Panade (to bind all the above ingredients)
- 1 oz Nitrite Salt (regular salt is fine if it is going to be consumed within a week)
- 8 oz Heavy Cream
- 4 Eggs
- 5 oz Flour
- 2 oz Brandy
You will also want to have a couple of eggs set aside for an egg wash. I will mention that later on.
The next step is to grind your veal and liver. Make sure your protein is VERY VERY cold before you grind it, otherwise it will mush up in the grinder if it is too warm and will not grind properly. Add your pate spice, black pepper, and parsley to your meat. This is a country style pâté so it was put through a large die just once in the grinder. Once the protein has been ground you can add your diced bacon, onions and garlic . For the panade all you should do it mix all the ingredients in a bowl and whisk until there are no lumps and the mixture is a smooth consistency. Add your panade to your meat and with a rubber spatula whisk VERY vigorously until your forcemeat is like a pizza or bread dough consistency, it should spring back into shape. It should look something like this.
 Once you have mixed your forcemeat very well, go ahead and put it in the freezer, but don’t let it freeze, just to get it nice and stiff.
Once your meat is put away and you have cleaned up a bit, pull out that ball of dough you made the day before. Roll it out into a sheet until it is evenly 1/16 of an inch thick.

To determine the desired dimensions of the dough, the mold should be placed lengthwise closest to you and then rolled forward 5 times marking where the mold was and then cutting the excess dough away but reserving it for later use.

Our next step is to remove the bottom of the mold, give it a quick spray of vegaline or pam or whatever you use to keep your biscuits and cookies from sticking to the sheet tray, and place the dough into it. Make sure this is done on top of a cutting board in order to flip it when you place the bottom back onto the mold. You are essentially looking through the bottom of the mold. I just said the words bottom and mold a lot.
 You want to make sure all sides (except the ends, we will get to that in a second) are fitted nicely and evenly pressed against the sides of the mold.
 Remember that egg wash I was telling you about? Whisk the eggs in a bowl and with a brush, paint the dough at the end and stick some of your reserved dough to it making sure that it is a tight seal. With other reserved dough stick two pieces together with egg wash and with a 1 inch ring mold press two holes. Then with a 3/4 inch ring mold poke another hole in the little disks you have just cut. Set these aside, they will be your chimneys.
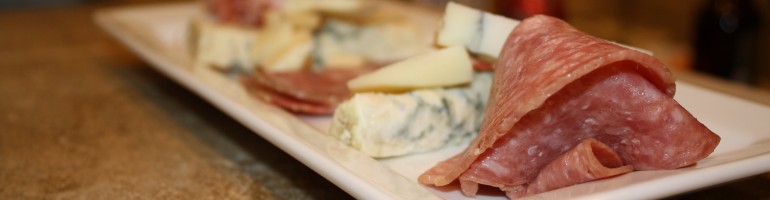
Now that you have got your terrine mold lined with dough you should add a thin layer of prosciutto or pancetta into the dough to keep the dough from getting soggy. This is the time when you stuff the crust with your forcemeat. The ham hanging off of the sides is then folded over. Bring the dough together at the top and trim to where there will be a small overlap, paint with egg wash, and press to seal. This seam will be the bottom of your terrine.

Place the bottom back onto the mold, with the cutting board supporting it, quickly but carefully flip the mold over. The point of using a cutting board is to keep the weight of the forcemeat from creating a weak spot in the dough which would rupture when cooking.
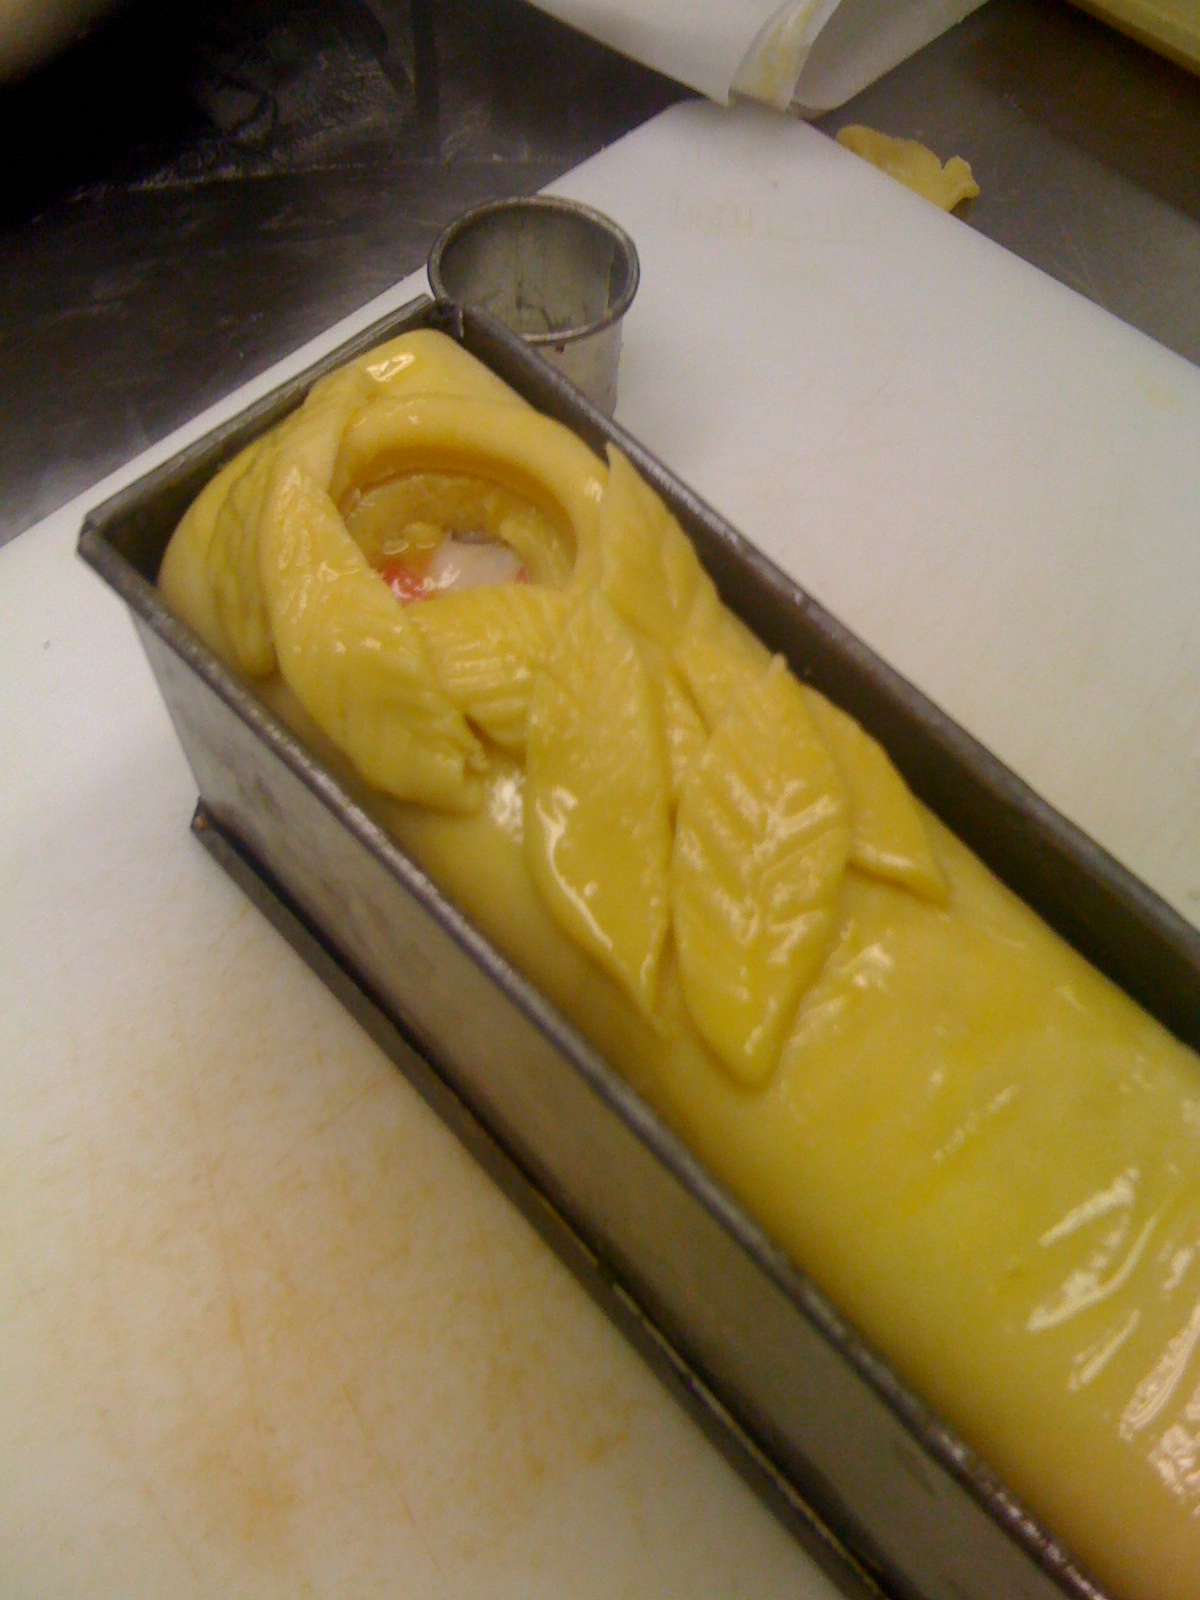
Remember the little “doughnuts” that you made earlier? This is where they come into play. with that 3/4 inch ring mold you will want to gently press a hole on either end of the terrine, remove the disk, paint it with the egg wash, and then place your chimneys on top. Give it a quick brush with egg wash so it will have a beautiful shine when it comes out of the oven.
 You don’t have to do this, but to make it look a little pretty, I took some of the excess dough and made little dough leaves and egg washed them around one of chimneys.
 Home stretch!
Put your assembled terrine in a 375 degree oven until internal temp of 145. Check often to make sure that the top is not burning, when a good light brown color has emerged place tin foil on top to deflect direct heat to the top.
When the terrine is done refrigerate over night.
DAY 3:
Take your aspic and heat up until hot, but do not boil it. Pour aspic into one of the chimneys until it fills up to the top. If the aspic has not reached the top of the other chimney then pour into this one as well. When it comes up then set aside for about 15 minutes until the aspic recedes. Repeat this process until the aspic stops receding then place in the refrigerator for a couple of hours.
 You can then remove from the mold and slice. My chef gave me a B+ on this terrine and says that he normally hands out C-‘s.
This is a very fun and rewarding terrine. I had a blast making it and I am sure you will have just as much fun with it.


")
")


")
")


